
In WEEK 01 of Computer Animation Fundamentals, As a part of introduction, Professor Ting Liu asked me why I chose animation and what my long-term goals are. It made me think about how I can use what I learn here in the future. She shared some self-study materials including a video on the “12 Principles of Animation by Frank Thomas and Ollie Johnston”.
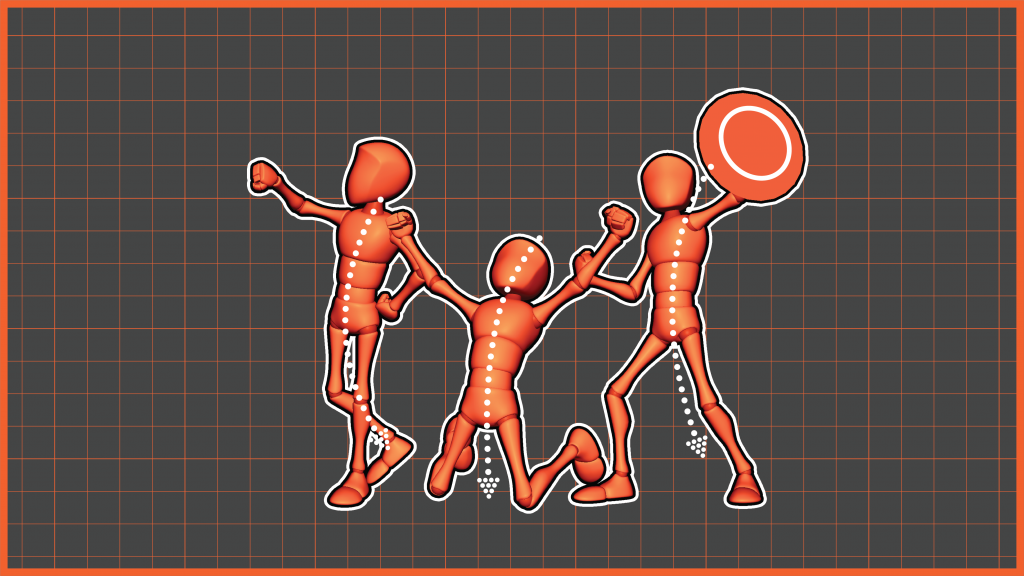
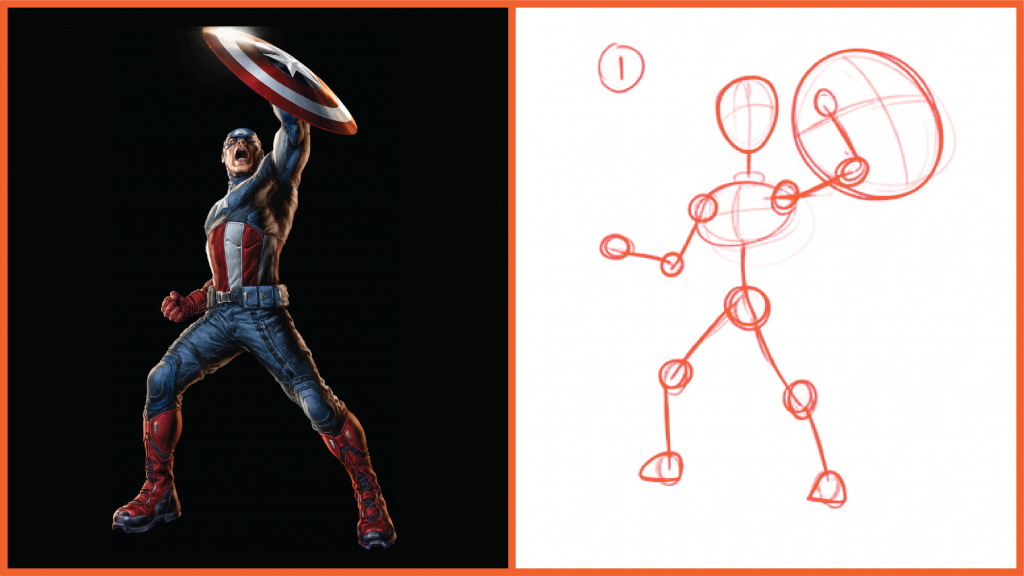
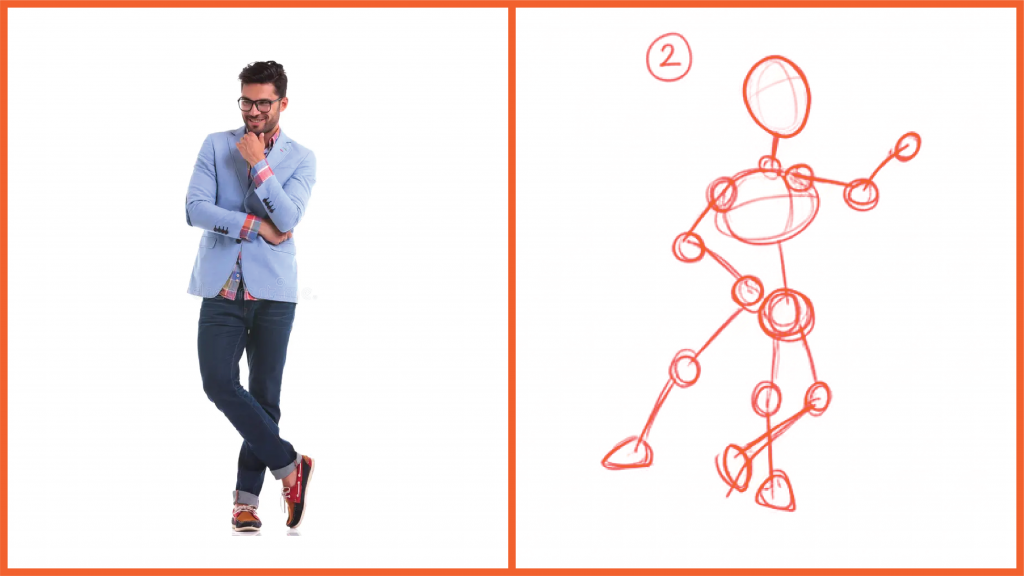
After watching this video, Professor Ting explained the concept of the Time Chart in animation and how it helps to manage frame timing properly. She then explained how golden poses are created and showed some examples from movies like Spider-Man: Into the Spider-Verse, The Incredibles, and Despicable Me. She also explained how the whole process works, first finding or creating a reference, planning the pose, and then focusing on the silhouette. The silhouette helps to read the pose clearly even in black and white. She said that a good silhouette shows the emotion and body language of a character without needing extra details.
The next important point was to find the Line of Action in a pose, how the body bends or flows.
There are mainly two types:
a) S-shape
b) C-shape
She said I can exaggerate these shapes based on the tone of the animation. In her presentation, she showed examples from Tom and Jerry, where Tom bends in strong S-shapes when running or falling, and even his tail follows the same curved motion. After that, she explained about keeping balance in the poses. The pose should not look unbalanced or stiff. It should have a proper visual balance, and she also said asymmetric poses look more natural and expressive than symmetric ones. Exaggeration again plays an important role to make the animation more expressive.
I also saw some real-life examples like animated movie sketches and Roman statues. These were used to study body movements, leg positions, and hand gestures, how body posture changes with emotion and expression.
At the end of the class, Professor Ting gave the assignment for Week 01. It had four levels of challenge:
Level 1: Create a hero pose
Level 2: Create a standing pose
Level 3: Create a happy pose
Level 4 (Final Boss): Make a 360-degree rotation video render of the pose
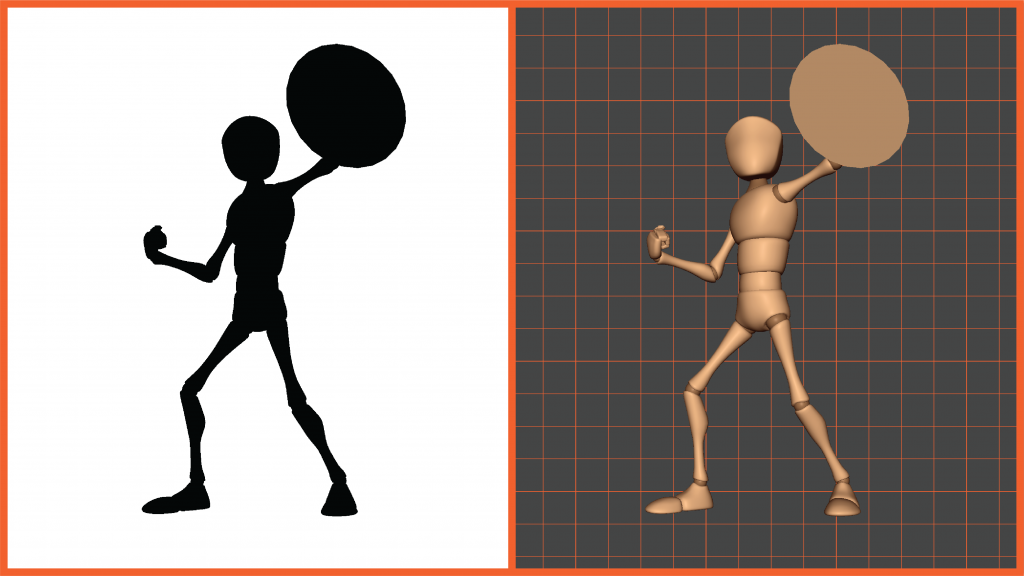
A) HERO POSE
Step 1: Choosing the Reference and Planning
Step 2: Defining Silhouette and Final Render

B) STANDING POSE
Step 1: Choosing the Reference and Planning
Step 2: Defining Silhouette and Final Render
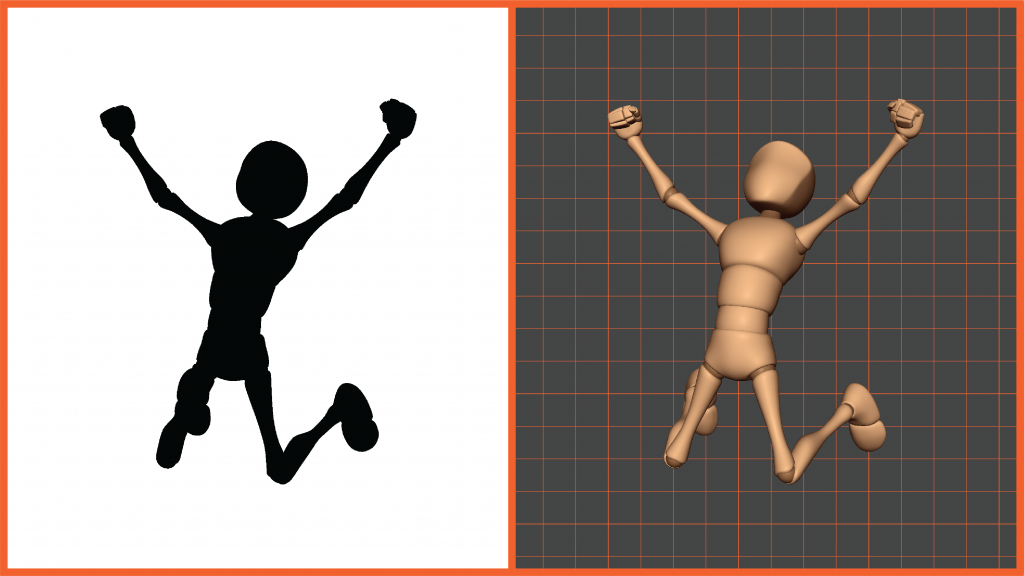
C) HAPPY POSE
Step 1: Choosing the Reference and Planning

Step 2: Defining Silhouette and Final Render
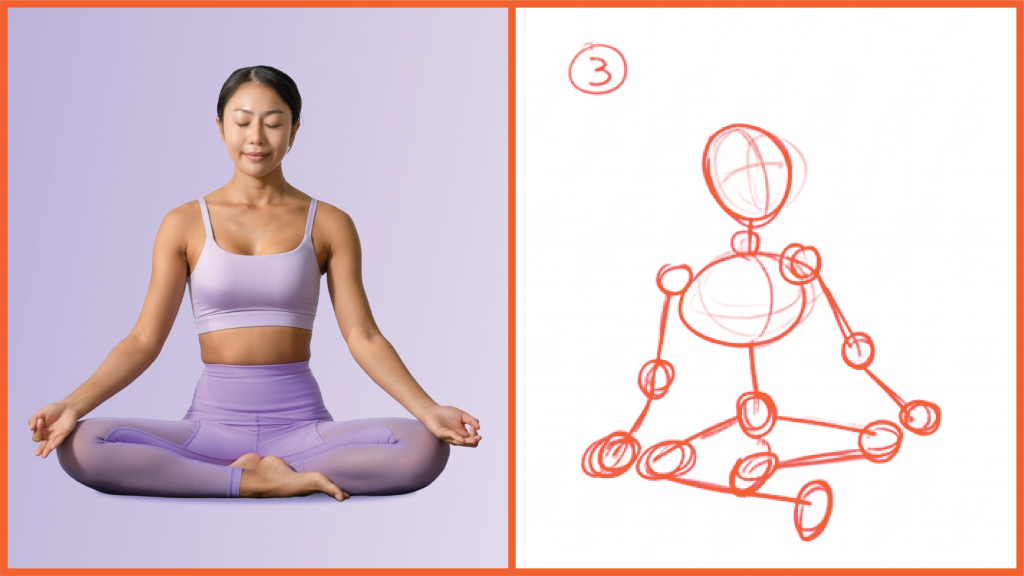
D) 360 YOGA POSE
Step 1: Choosing the Reference and Planning
Step 2: Defining Silhouette and Final Render
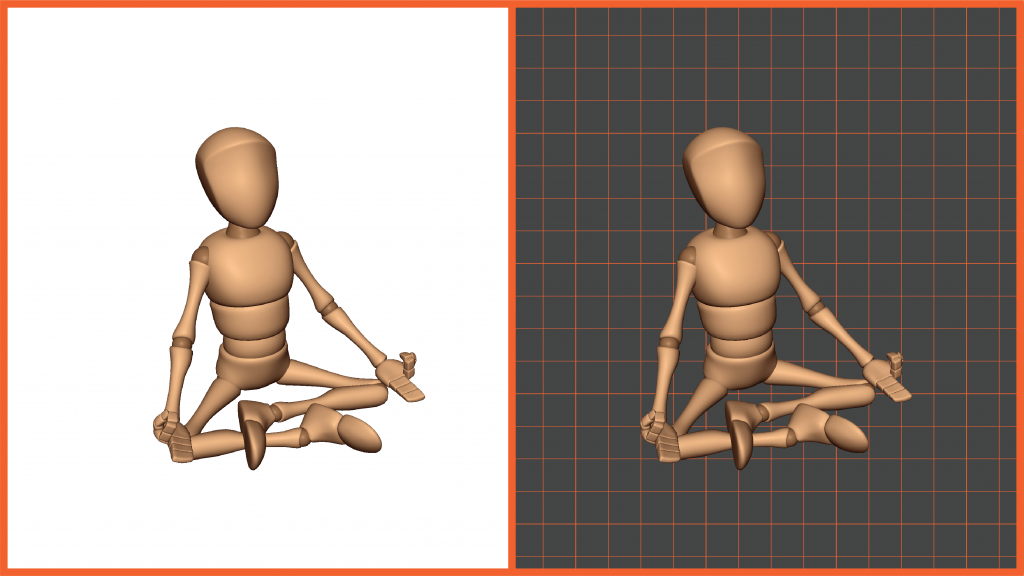
Step 3: Composing 360 degree Turntable
Each level increased in difficulty. For example, the hero pose has strong action and movement, while the standing pose is tricky because it looks plain but needs life in it. The happy pose needed emotional expression without a face rig, and the final one tested my rendering and camera setup skills.
Step 4: Receiving the Feedback
After I submitted my animation, I received two main feedback points from Professor Ting:
“You need to use the right set of references that are asymmetrical because Symmetry won’t give you much room to play with the character’s form and movement.”
“You should use clear lines of action instead of drawing bones in your planning sketches so that it will help your poses flow better, and don’t hesitate to exaggerate the line to bring out the energy of the character.”
Based on this feedback, I planned to create my Week 02 Golden Poses sketches by identifying stronger asymmetrical references and reworking each pose using clear and exaggerated lines of action. This will help me strengthen the storytelling aspect of my poses and improve my understanding of character dynamics for the upcoming assignment.